Getting started
Use this page after you have installed the source into your app.
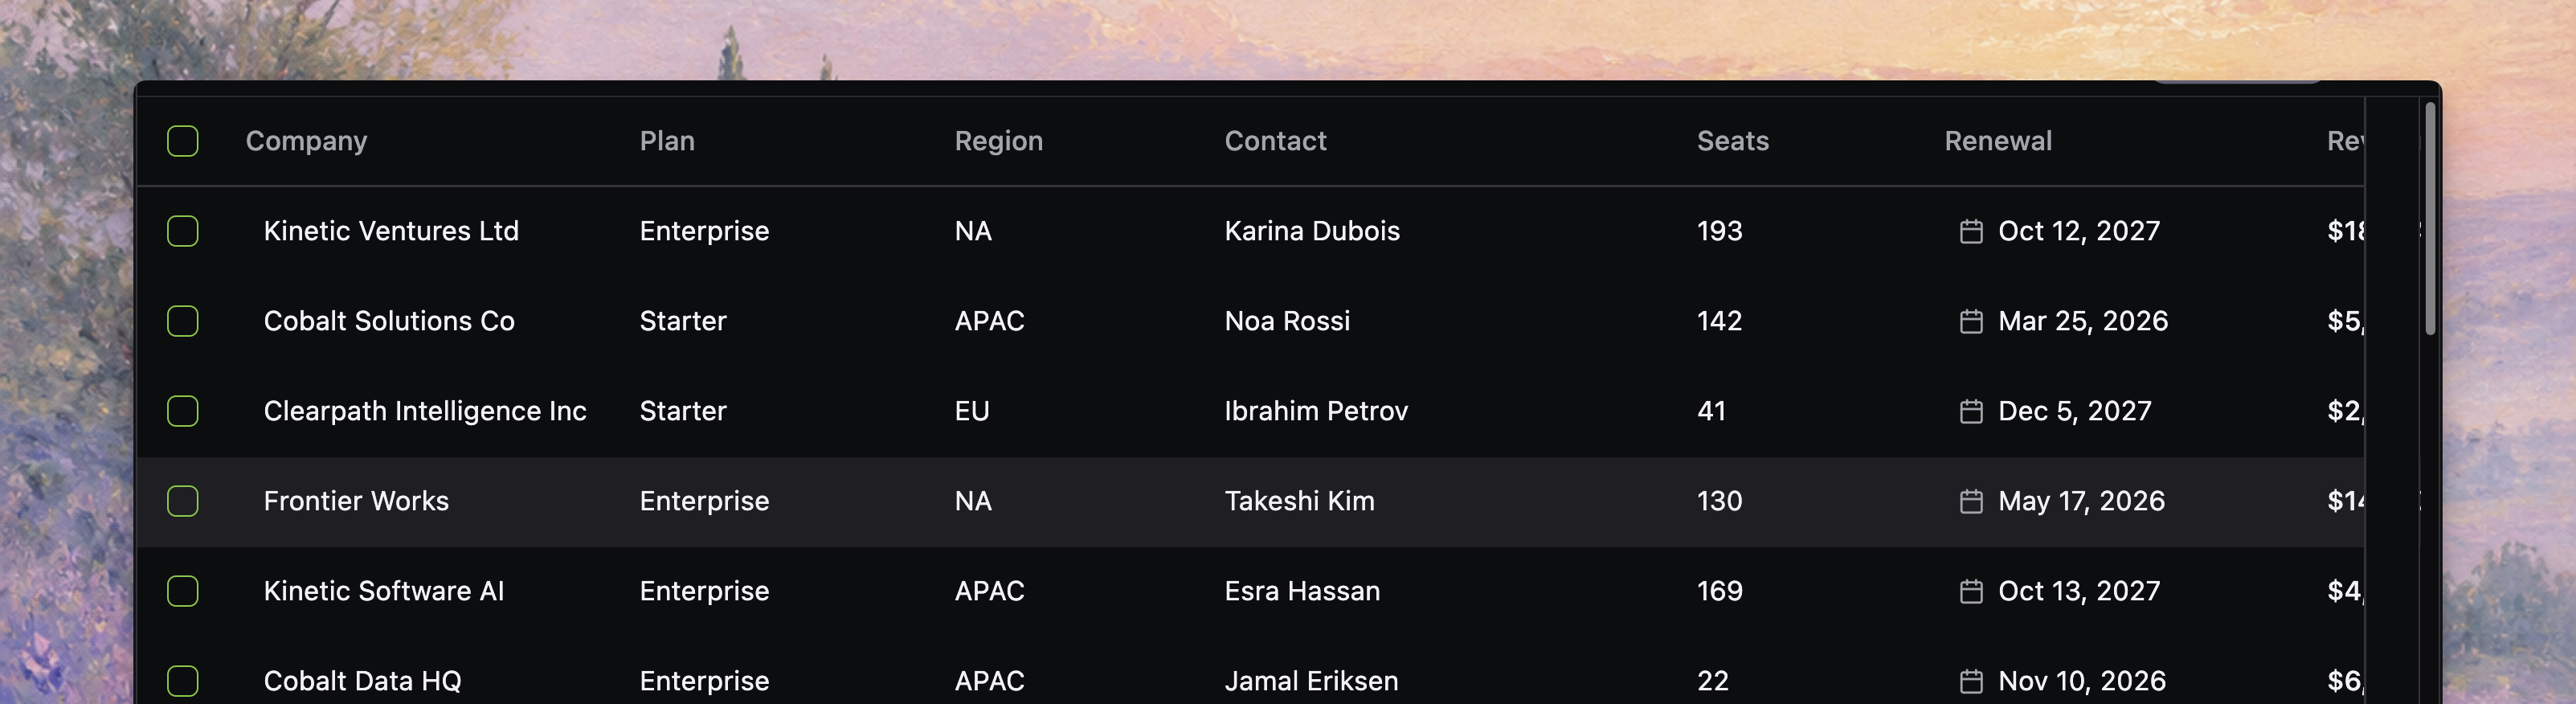
By the end, you should have a local-mode table rendering static rows with working search, filters, selection, and display controls.
Before you start
Complete Installation first. Your app should already have:
- the copied
src/react-datatablesource - the runtime dependencies installed
- Tailwind configured to scan the copied source
- the theme tokens the table expects
1. Define the row type
Start with the shape your product already uses.
type Customer = {
  id: string
  company: string
  status: "active" | "trial" | "paused"
  seats: number
}
Stable row identity matters because selection, preview, persistence, and online replacement all depend on it later.
2. Define the columns
Columns are the table contract. Give every column a stable id.
import type { DatatableColumn } from "./react-datatable"

const columns: DatatableColumn<Customer>[] = [
  {
    id: "company",
    accessorKey: "company",
    header: "Company",
    filterType: "text",
  },
  {
    id: "status",
    accessorKey: "status",
    header: "Status",
    filterType: "text-list",
  },
  {
    id: "seats",
    accessorKey: "seats",
    header: "Seats",
    filterType: "number",
  },
]
3. Create the table component
Local mode uses the data prop. It does not need an app-level provider.
import { Datatable, type DatatableColumn } from "./react-datatable"

type Customer = {
  id: string
  company: string
  status: "active" | "trial" | "paused"
  seats: number
}

const columns: DatatableColumn<Customer>[] = [
  { id: "company", accessorKey: "company", header: "Company", filterType: "text" },
  { id: "status", accessorKey: "status", header: "Status", filterType: "text-list" },
  { id: "seats", accessorKey: "seats", header: "Seats", filterType: "number" },
]

export function CustomersTable({ rows }: { rows: Customer[] }) {
  return (
    <div className="h-[560px] overflow-hidden rounded-lg border border-border">
      <Datatable
        tableKey="customers"
        columns={columns}
        data={rows}
        getRowId={(row) => row.id}
      />
    </div>
  )
}
tableKey gives the table a stable identity for persisted state, runtime restoration, and feature configuration that needs a table namespace.
The bounded-height wrapper is important. The datatable needs a real viewport container, so keep a wrapper like h-[560px] overflow-hidden around your first table.
4. Add first controls
Turn on the built-in controls you want users to see first.
export function CustomersTable({ rows }: { rows: Customer[] }) {
  return (
    <div className="h-[560px] overflow-hidden rounded-lg border border-border">
      <Datatable
        tableKey="customers"
        columns={columns}
        data={rows}
        getRowId={(row) => row.id}
        toolbar={{
          quickSearch: { placeholder: "Search customers..." },
          filterButton: true,
          displayOptions: true,
        }}
        selection={{ enabled: true }}
      />
    </div>
  )
}
This keeps the first table small while still proving the main surface: search, filters, display options, and row selection.
5. Add viewport virtualization
Use virtualization when the table can render enough rows to make DOM size matter.
export function CustomersTable({ rows }: { rows: Customer[] }) {
  return (
    <div className="h-[560px] overflow-hidden rounded-lg border border-border">
      <Datatable
        tableKey="customers"
        columns={columns}
        data={rows}
        getRowId={(row) => row.id}
        toolbar={{
          quickSearch: { placeholder: "Search customers..." },
          filterButton: true,
          displayOptions: true,
        }}
        selection={{ enabled: true }}
        virtualization={{ mode: "viewport", rowOverscanCount: 8 }}
      />
    </div>
  )
}
Virtualization is a rendering setting. It does not change whether the browser or server owns the row set.
6. Initialize it with static rows
For the first pass, keep the data local and explicit.
import { CustomersTable } from "./CustomersTable"

const customerRows = [
  { id: "cus_001", company: "Acme Inc.", status: "active", seats: 42 },
  { id: "cus_002", company: "Northstar Labs", status: "trial", seats: 12 },
  { id: "cus_003", company: "Orbit Systems", status: "paused", seats: 7 },
] satisfies Array<{
  id: string
  company: string
  status: "active" | "trial" | "paused"
  seats: number
}>

export function App() {
  return <CustomersTable rows={customerRows} />
}
Once the static table is working, you can replace customerRows with route data, loader data, or an online.query function.
Verify the setup
Use the smallest checks that match your app:
pnpm run typecheckpnpm run buildnpm run typechecknpm run buildyarn typecheckyarn buildbun run typecheckbun run buildIf you are working inside the react-datatable repository, the local examples provide a known-good baseline:
pnpm run dev:local-basicpnpm run dev:online-basicnpm run dev:local-basicnpm run dev:online-basicyarn dev:local-basicyarn dev:online-basicbun run dev:local-basicbun run dev:online-basicWhere to go next
If the table is rendering and you want to shape the integration boundary, continue to Define columns, then Define your table.
For server-backed data, read Data loading, then Choose a data mode.